


"Here to Help" is a support column written especially for Formstack's awesome, loyal customers.
Most marketers know that lack of branding leads to higher form abandonment, but some are not taking the necessary steps to keep visitors from bouncing away. And they are suffering the consequences (i.e., failing to convert leads).Boosting your company’s trust, professionalism, and likability is as simple as creating a consistent, branded experience for your visitors—from first touch to form submission. But is it really that simple? With Formstack, it is! Our easy form design capabilities can help you create branded forms in no time! Here are a few quick ways you can use the Formstack Theme Editor to brand your forms and boost your lead gen efforts:
Step 1: Add a Logo
Brand recognition is an important piece of the marketing puzzle. If prospects and customers can’t quickly determine who’s responsible for a product, service, or piece of content, they won’t likely stick around. Lucky for you, there’s an easy way to ensure you are maintaining brand recognition on your online forms: addition of a company logo. Your logo should easily be the most recognizable piece of visual collateral your brand possesses—so use it! You can add your brand logo to your Formstack forms in just a few easy steps:
1. Open your form in the builder and click the Theme tab at the bottom of the form options sidebar on the left.

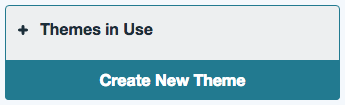
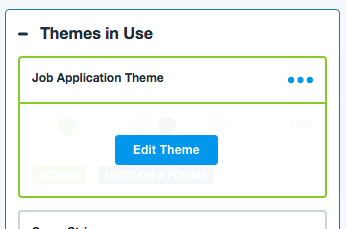
2. Click Create New Theme at the bottom of the Themes in Use list, or hover over an existing theme and click Edit Theme.
3. Scroll to the top of your form and click Add a Header. (Or, alternatively, scroll to the bottom of your form and click Add a Footer.) When the header (or footer) options box pops up, upload your logo image, set your desired size and alignment, and click Confirm.
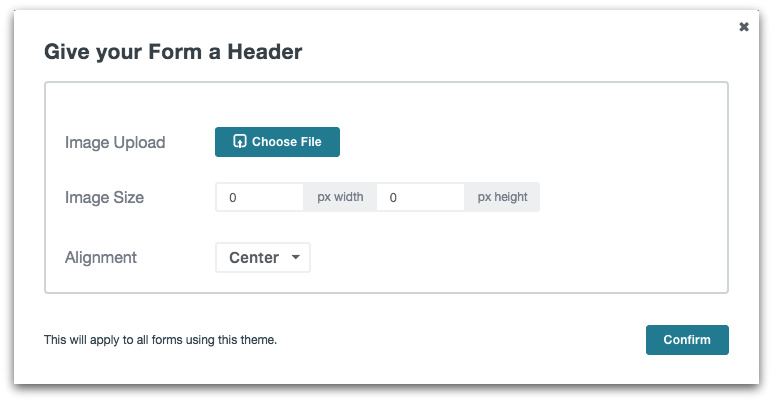
Note: Once you’ve added your logo to your header, you can edit it at any time by going back into your theme options and clicking Edit Header at the top of the form.

Step 2: Update the Form Fonts
If your company website and brand collateral use just a few specific fonts, it’s a good idea to carry those fonts into other business assets as well—including your online forms. You want visitors to have a seamless experience with your brand, so serving up consistent text is key.Formstack’s Theme Editor allows you to tweak your form fonts to match your site. With just a few simple clicks (and no need to mess with pesky coding), you can set your form text to one of over 60 Google fonts. Here’s how:
- Open your form in the builder and navigate to the design settings by clicking the Theme tab at the bottom of the left sidebar and selecting to edit the active theme or create a new theme.
- Open the Quick Styles options and select your desired font from the Form Font dropdown menu.
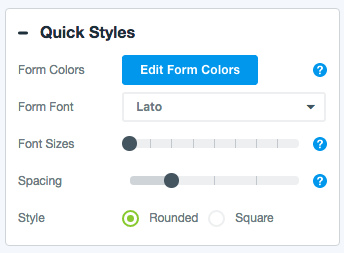
Note: Updating the font under Quick Styles will change the font for all text on your form (excluding the font used in any images or logos that have been uploaded to the form).
Step 3: Include a Splash of Color
When it comes to marketing and branding, color can play a crucial role. It not only adds to brand recognition, but it can show off your brand’s personality and incite certain emotions. That’s why most companies use a standard set of colors to ensure brand consistency across a variety of internal and external collateral. To ensure your online forms are upholding your brand identity, consider adding a splash of color from your brand’s color palette. Formstack’s Theme Editor makes it super simple to tweak your form colors. Just follow these steps:
- Open your form in the builder and navigate to the design settings by clicking the Theme tab at the bottom of the left sidebar and selecting to edit the active theme or create a new theme.
- Open the Quick Styles options and click the Edit Form Colors button.
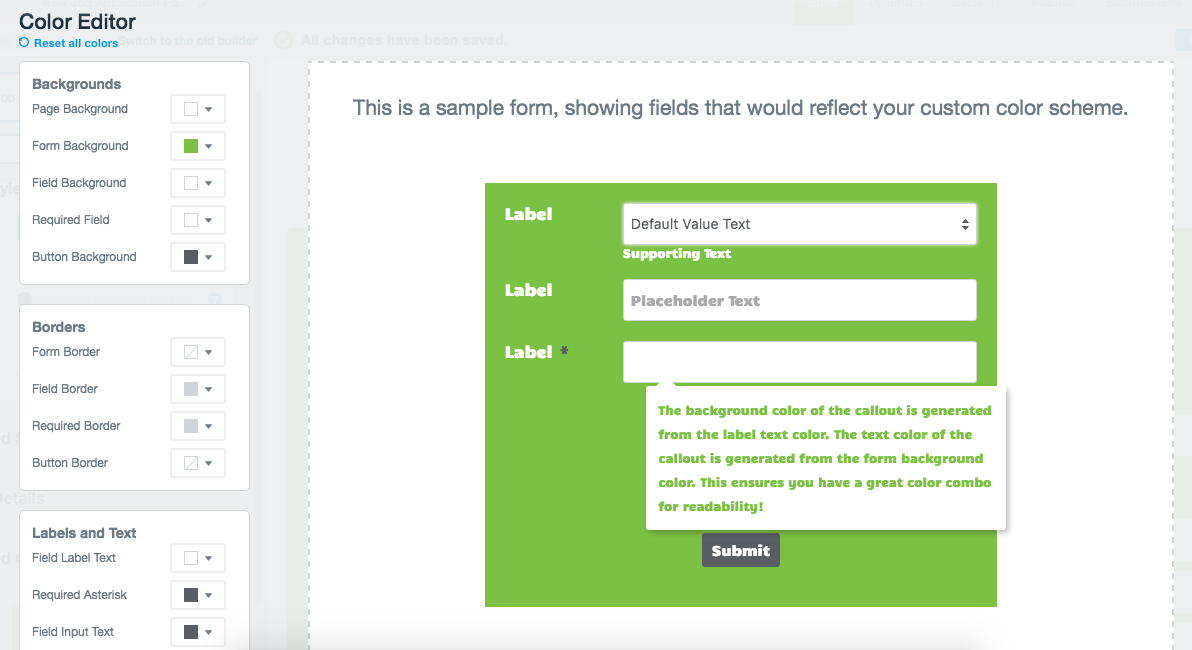
- When the Color Editor opens, click the color box next to each element and use the dropdown to select your desired color or enter a specific color code.
Note: You can use this editor to change the colors of backgrounds, borders, labels, and text on your page, form, and fields (both normal and required).
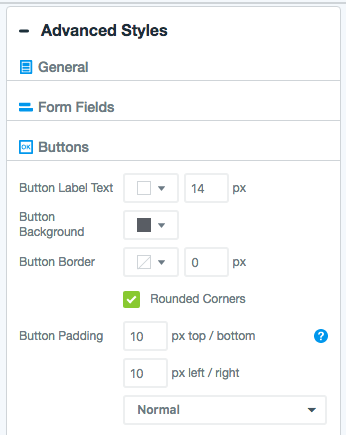
4. To make additional color tweaks to your form, open the Advanced Styles options and navigate through each section to update colors on buttons, answer sliders, and more.
Note: When editing form colors, the text color for certain callouts is automatically generated from your choices to ensure readability is maintained.
Formstack’s Theme Editor makes it easy to create branded, beautiful forms. Even better? You can save custom form themes and form templates to make the branded form creation process even more efficient. Click here to learn more.

